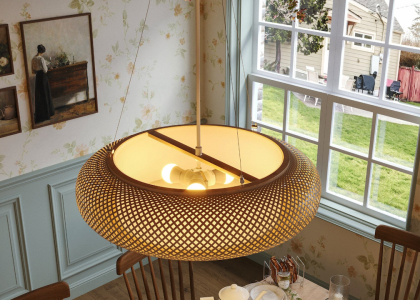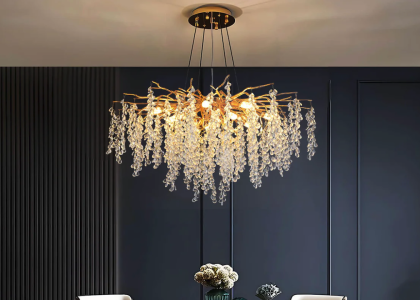

How to Shorten Your Pendant Light Cord: A Step-by-Step Guide
Introduction
If you’re someone who has purchased a pendant light and found that the cord is too long for your needs, you’re not alone. Many people struggle with cords that are too long and end up either dealing with the inconvenience or not using the light altogether. However, shortening a pendant light cord is actually quite easy and can be done with just a few tools and some patience. In this article, we’ll go over the steps needed to shorten your pendant light cord and make it the perfect length for your space.
Step 1: Turn Off Power
Before you start working on shortening your pendant light cord, it’s important to turn off the power to the light. This means turning off the light switch and then flipping the breaker that controls the light. This will prevent any electric shocks or accidents from occurring while you’re working on the cord.
Step 2: Measure the Length
The next step is to measure the length of the cord that you want to remove. This can be done by using a measuring tape or ruler. Measure from the canopy (the part of the light that attaches to the ceiling) down to where you want the new length to be. Make sure to add an extra inch or so to account for any mistakes or changes in the length that you’ll need to make later on.
Step 3: Remove the Canopy
Once you have the measurements, you’ll need to remove the canopy from the fixture. This is usually done by unscrewing a small screw or two that holds the canopy in place. Be careful not to drop the screws or the canopy while you’re removing them.
Step 4: Cut the Cord
Now that you have the canopy removed, you can cut the cord to the desired length. Use a pair of sharp scissors or wire cutters to make a clean cut. Be sure to cut the cord evenly on both sides to ensure that it hangs straight.
Step 5: Strip the Wires
After you’ve cut the cord, you’ll need to strip the wires on the newly cut end. Use wire strippers to remove about half an inch of insulation from each wire. You should see two wires—one white, and one black.
Step 6: Attach the Wires to the Canopy
Now it’s time to attach the wires to the canopy. Take the white wire and twist it around the white screw on the canopy. Use a screwdriver to tighten the screw until the wire is secure. Then, take the black wire and twist it around the black screw on the canopy. Again, use a screwdriver to tighten the screw until the wire is secure.
Step 7: Reattach the Canopy
With the wires securely attached to the canopy, it’s time to reattach the canopy to the fixture. Place the canopy over the wires and screw it back into place. Make sure the screws are tight so that the canopy is secure.
Step 8: Turn the Power Back On
The final step is to turn the power back on to the light. Flip the breaker back on and then turn the light switch on. You should now have a pendant light with a perfectly sized cord.