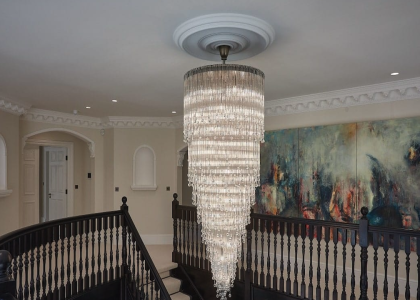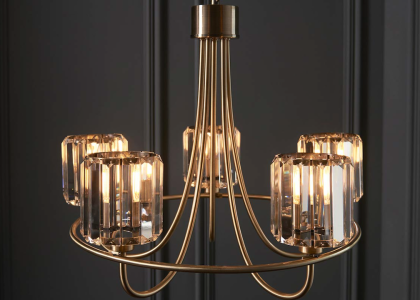

The Decision to Paint
Have you ever looked at a chandelier and thought it was just too boring or outdated? That’s exactly how I felt about the chandelier in my dining room. It was a beautiful piece, but the color was just not fitting with the rest of my décor. I considered buying a new chandelier, but that was not only expensive, but also seemed wasteful to me, since the chandelier was still in working order. That’s when I decided to try something new: painting the chandelier.
Choosing the Right Paint
The first step was to research the type of paint that would work best on a chandelier. I looked into different options such as spray paint, acrylic paint, and even chalk paint. After reading reviews and doing some test swatches, I decided to use a spray paint specifically made for metal surfaces. It promised to be durable and long-lasting while also providing a smooth, even finish.
Prepping the Chandelier
Before I could apply any paint, I had to prep the chandelier. This involved dismantling the chandelier into its individual pieces and thoroughly cleaning each one. The chandelier had accumulated dust and grime over the years, which needed to be removed before I could paint it.
Once the chandelier was clean, I applied a primer to each piece. This would ensure that the paint would adhere evenly and not chip or flake off over time. I let the primer cure overnight before moving on to the next step.
Painting the Chandelier
The painting process was the most time-consuming part of the project. I decided to paint each piece individually before reassembling the chandelier. This allowed me to get an even coat on each piece without worrying about paint dripping or running.
I sprayed each piece with a light coat of paint, making sure to cover all the nooks and crannies. After letting the paint dry for a few hours, I applied a second and third coat, allowing each coat to dry completely before applying the next one.
Reassembling and Hanging the Chandelier
Once each piece was painted and dry, it was time to reassemble the chandelier. This was a delicate process, as I had to make sure that each piece was screwed in tightly and securely.
Finally, it was time to hang the chandelier. I took extra care to make sure it was hung properly, so it wouldn’t fall and ruin all my hard work.
The Final Product
After all the work was done, I was thrilled with the final product. My once-dull chandelier had been transformed into a beautiful, modern piece that fit perfectly with my décor. It was a cost-effective and environmentally friendly solution that I would recommend to anyone looking to update their lighting fixtures.